Uncover how warm, dark shower pipe interiors foster slimy biofilms and mineral encrustations that choke water flow. You will master an easy vinegar soak that restores nozzle pressure and ensures clean shower spray.
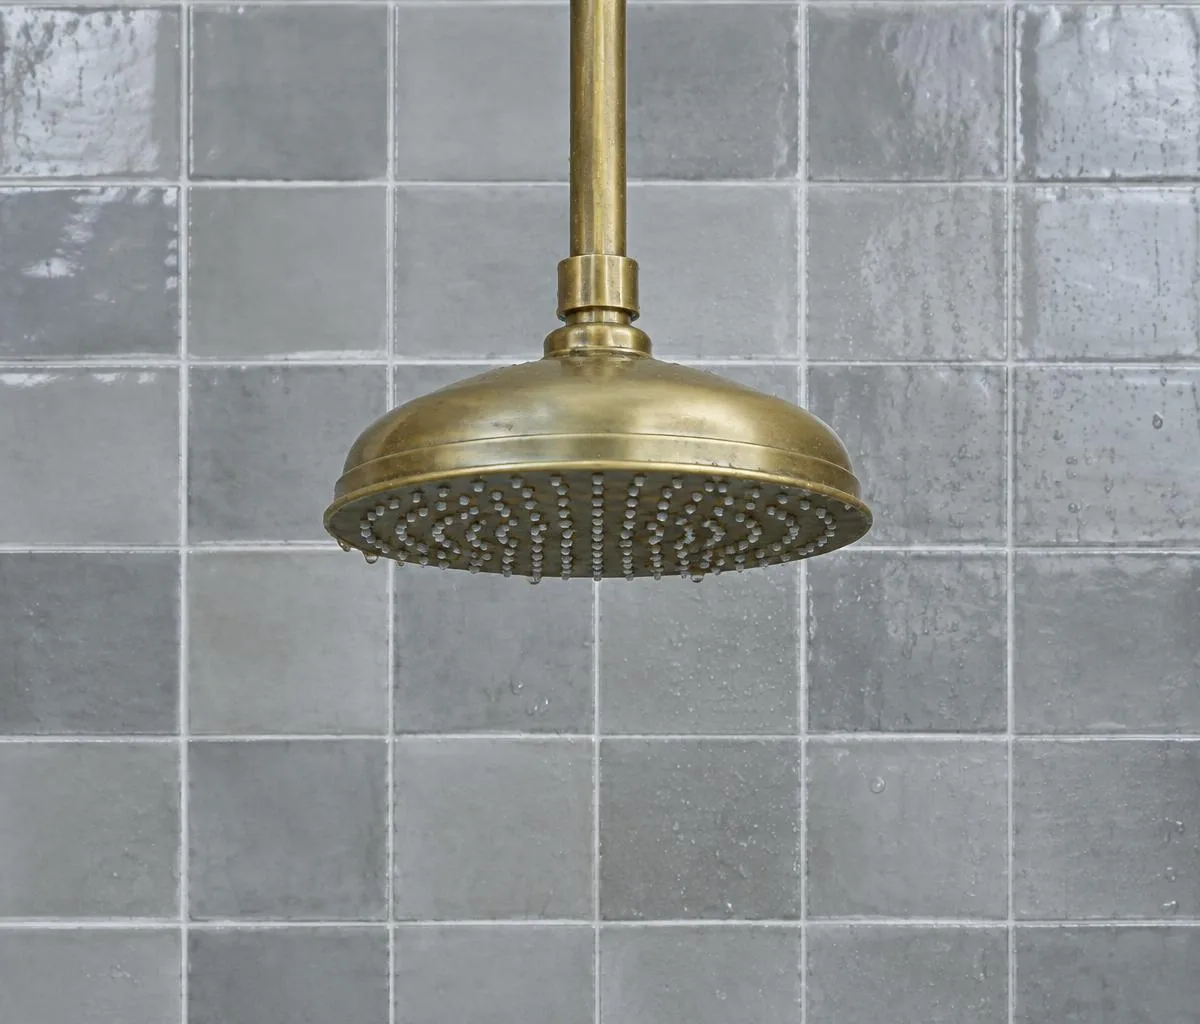
- Shower nozzle deposits harbor opportunistic water-loving bacteria alongside lime.
- Soaking the perforated faceplate in hot white vinegar dissolves scale within two hours.
- Running hot water through the nozzles for thirty seconds flushes loosened sediment completely.
In older stone buildings across Paris, from the walk-ups off the Rue des Martyrs to the zinc-roofed blocks of the eleventh arrondissement, water carries a heavy cargo of chalk. Our municipal supply is drawn largely from the rivers and regional aquifers that filter through deep limestone beds. By the time it reaches an apartment bath on a brisk November morning, this water is hard, mineral-dense, and prone to leaving chalky white crusts along every tap, spout, and silicone seal it touches.
Most households tolerate the crust until a shower head begins shooting stray needles of water sideways toward the linen rack, or until the water pressure drops to a weak trickle. Yet the crust on the outside of the brass or chrome fixture is only the visible edge of an ecosystem that forms inside the dark, damp interior channels. Clearing out that buildup is not an aesthetic indulgence. It is a necessary domestic chore that restores true flow, protects bathroom surfaces from water spray, and curbs the proliferation of bacterial colonies that quietly make a home inside household plumbing.
What grows inside damp shower fittings: minerals, lime, and bacterial slime
The interior of a shower rose is an ideal environment for biological and mineral deposits. Every time the tap is shut, a small reservoir of water sits trapped behind the faceplate. As that standing water cools down to room temperature, dissolved calcium carbonate and magnesium settle out of suspension, adhering to the plastic or metal apertures. Over months, these microscopic crystals fuse into rock-hard scale, commonly known in French households as tartre or calcaire. This calcified matrix narrows the channel diameter, creating rough, cavernous surfaces that snag passing organic material.
Behind the calcified nozzles lurks a secondary, organic accumulation: biofilm. Biofilm is a slimy matrix of extracellular polysaccharides produced by bacterial communities clinging to the damp walls of the pipe. While minerals produce a dry, chalky ring, biofilm appears as a translucent, gray, or faintly orange slick along the rubber gaskets, interior threads, and internal distributor plates. In apartment buildings with aging lead, copper, or galvanized iron risers, this biofilm also catches flakes of pipe rust and water-main sediment, creating a stubborn paste that tap pressure alone cannot dislodge.
Left unchecked, this combination alters the hydraulic behavior of the fitting. Water no longer exits as a balanced, aerated spray. Instead, partial nozzle blockages force water through remaining open holes under erratic velocity, while trapped pockets of stagnant moisture behind the blocked holes remain warm and wet for days on end, accelerating the growth of fresh slime.
The health rationale for keeping shower spray nozzles unobstructed
A blocked shower nozzle is not solely a nuisance for water pressure; it directly affects the composition of the air in the bath. When hot water forces its way through partially occluded spray channels, high shear forces atomize the water into microscopic respirable droplets, creating an aerosol. If the internal passages of that fixture harbor dense biofilm, those aerosols carry microscopic fragments of bacteria and endotoxins directly into the user's respiratory tract.
Public health researchers have repeatedly isolated non-tuberculous mycobacteria, including Mycobacterium avium, from domestic shower heads. These organisms thrive in warm, dark, damp, chlorinated environments because their waxy outer walls resist the trace chlorine levels found in city water supplies. When an individual takes a hot shower beneath a contaminated head, these bacteria become airborne in the steam. For healthy adults, exposure may lead to minor respiratory irritation or skin dryness, but for vulnerable people, the elderly, or those with underlying lung conditions, inhaling these aerosols can provoke chronic, persistent coughs or pulmonary infections. Anyone experiencing unexplained respiratory symptoms should consult a medical doctor rather than attempting to self-diagnose environmental causes.
In addition to mycobacteria, trapped moisture in shower heads frequently hosts Legionella pneumophila, the pathogen responsible for Legionnaires' disease. While municipal water systems treat water thoroughly, water that sits stagnant in vertical dead-legs or within calcified fixtures between 20 and 45 degrees Celsius offers the exact conditions the pathogen needs to multiply. Keeping nozzles unobstructed ensures that water drains fully between uses, eliminating the warm, stagnant puddle where pathogens proliferate.
Dismantling versus bag-soaking methods for fixed wall fixtures
Homeowners and tenants generally confront two mechanical arrangements: flexible hand-held wands attached to a hose, or heavy, fixed overhead rain showers mounted to a copper drop-ear elbow inside the wall. The cleaning strategy must match the mechanical reality of the fixture to avoid stripping threads or cracking vintage tile.
| Method | Best Suited For | Tools Required | Primary Advantage | Primary Risk |
|---|---|---|---|---|
| Complete Dismantling | Hose-attached wands, removable overhead units | Adjustable wrench, rag, soft brush, pin | Cleans inner chambers, replaces old washers | Cross-threading, marring chrome finishes |
| Bag-Soaking | Fixed gooseneck arms, built-in ceiling fixtures | Heavy plastic freezer bag, rubber bands, zip-ties | Zero plumbing risk, no wrench marks | Leaves internal debris behind the faceplate |
The dismantling technique for detachable fittings
Dismantling provides the most thorough cleaning because it exposes the internal diverter, the rubber flow-restrictor gasket, and the back side of the spray faceplate.
- Unscrew the shower head from the hose or wall pipe. Wrap a cotton rag around the chrome connector nut before applying an adjustable wrench to avoid chewing into the soft metal finish. Turn counterclockwise.
- Inspect the intake filter. Inside the threaded connector sits a small wire or plastic mesh washer. Remove it gently with a small flathead screwdriver or tweezers. This screen often holds sand, rust grains, and mineral flakes from the street pipes.
- Disassemble the faceplate if the design permits. Many modern heads allow you to unscrew the front perforated plate using a central screw or a twist-lock collar.
- Submerge all components in a deep ceramic bowl or enamel basin filled with descaling solution. Ensure every rubber gasket, the perforated faceplate, and the housing remain fully drowned.
- After soaking, scrub both sides of the plate with a stiff natural-bristle brush or an old toothbrush. Press a wooden toothpick or a brass pin through each individual rubber aperture to dislodge calcified plugs.
- Rinse thoroughly with cold tap water, replace the rubber intake washer if it shows signs of hardening or cracking, apply fresh PTFE thread tape clockwise around the pipe threads, and screw the fitting back into place by hand, giving it a final quarter-turn with the padded wrench.
The bag-soaking technique for stationary fixtures
For ceiling-mounted rain heads or fixed wall fixtures in historic apartments where unscrewing the pipe might twist an old copper joint hidden inside the plaster, bag-soaking is the safest recourse.
- Choose a thick, durable plastic freezer bag that accommodates the entire diameter of the shower rose without stretching thin.
- Fill the bag halfway with cleaning acid, ensuring there is enough volume to cover the nozzles completely once the head is submerged, but leaving enough headroom so liquid does not spill over the top.
- Slip the bag over the shower fixture from underneath, lifting it until the faceplate and the swivel joint are immersed in the fluid.
- Secure the neck of the bag tightly around the supporting neck pipe using two heavy-duty rubber bands or an adjustable plastic cable zip-tie. Double-check that the bag cannot slip under its own weight.
- Allow the fixture to soak undisturbed for the required time window. Place an empty bucket directly on the shower floor beneath the bag to catch any accidental drips.
- Carefully cut or unhook the tie, lower the bag into the bucket, and immediately run hot water through the shower head for two minutes to blow out loosened debris. Follow by wiping the exterior faceplate with a damp microfiber cloth to remove residual acid.
Using common white vinegar instead of toxic caustic descalers
Hardware stores stock aggressive commercial descalers formulated with sulfamic, phosphoric, or hydrochloric acids. While these chemicals dissolve calcium carbonate rapidly, they bring significant hazards into an enclosed bathroom. Caustic fumes irritate mucous membranes, cause chemical burns if splashed on bare skin, and can pit modern electroplated finishes like brushed nickel, oil-rubbed bronze, or matte black powder coats. Furthermore, pouring strong industrial acids down domestic drains corrodes older lead or cast-iron waste pipes and disrupts biological wastewater treatment processes downstream.
Standard household white vinegar, known in France as vinaigre blanc or vinaigre d'alcool, offers a far safer, highly effective alternative. Household vinegar typically contains an acetic acid concentration between 6 and 8 percent. Acetic acid reacts with insoluble calcium carbonate to convert it into water-soluble calcium acetate, carbon dioxide gas, and water. This reaction proceeds at a controlled, steady pace, dissolving scale without generating noxious fumes or risking catastrophic damage to bathroom fixtures.
For routine descaling, use warm, undiluted 8 percent white vinegar. Heating the vinegar in a non-reactive saucepan until it is warm to the touch (roughly 40 to 50 degrees Celsius) increases the chemical reaction rate substantially. Soak standard chrome-plated brass or stainless steel heads for three to four hours. If the mineral crust is exceptionally thick, an overnight soak of seven to eight hours is acceptable for pure chrome. However, if your shower fitting features delicate decorative finishes, like unlacquered brass, gold plate, or colored powder coatings, dilute the vinegar half-and-half with warm water and restrict the soak time to forty-five minutes to avoid surface dulling or discoloration.
Citric acid powder dissolved in warm water (roughly 50 grams of food-grade citric acid per liter of warm water) is another odorless, plant-derived option that works similarly to acetic acid. It lacks the pungent sour smell of vinegar, making it especially pleasant to use in small, unventilated windowless shower cabins tucked under Parisian eaves.
A quarterly maintenance schedule to keep domestic water flow pure and strong
Mineral scale forms on an incremental, daily timeline. Waiting until nozzles are completely sealed off turns a simple maintenance task into a frustrating mechanical restoration. Establishing a regular quarterly routine, timed with the changing seasons, keeps domestic water streams running evenly and prevents biofilm from establishing deep roots inside the assembly.
Autumn (Late October)
As central radiators hum to life and outdoor temperatures dip, municipal water providers often adjust flow rates and reservoir blends, shifting mineral concentrations. Perform a deep dismantle and soak. Remove the fixture, clear the intake mesh of seasonal pipeline rust, replace any degraded rubber o-rings, and submerge the components in warm white vinegar. Wipe down the hose interior connection points where moisture lingers.
Winter (January)
Mid-winter is marked by heavy hot water usage. Increased water heater cycles can accelerate the precipitation of lime inside home pipes. Perform a rapid bag-soak on fixed heads or an in-situ bowl-soak for hand-held wands without complete dismantling. Leave the fitting in warm vinegar for two hours on a Sunday morning. Run high-pressure hot water for two minutes afterward to clear minor crystallization before it hardens into permanent rock.
Spring (April)
Spring cleaning calls for a thorough mechanical sweep. Inspect the flexible silicone nozzles found on most modern shower faces. With the water running, massage each silicone nub firmly with your thumb. This simple flex dislodges brittle lime sleeves from the flexible silicone without the need for tools. Check the swivel joint behind the head, clean the threads, and apply a fresh turn of thread-sealing tape if you notice minor weeping from the connection nut.
Summer (July)
Hot, humid summer weather encourages accelerated microbial and mold growth in damp rooms. Focus this quarterly check on biofilm elimination. Dismantle the faceplate, soak it in vinegar to cut lime, and follow with a mechanical scrub using warm water and ordinary Marseilles soap to strip away slippery bacterial films. Allow the disassembled pieces to dry completely in the open air and summer sunlight for an hour before reassembly, taking advantage of natural ventilation to dry out internal threads.
Common mistakes
- Using bleach to tackle mineral scale: Sodium hypochlorite bleach acts as a disinfectant against surface mold, but it cannot dissolve mineral scale. Bleach leaves the calcium carbonate matrix intact, meaning lime remains behind as an immediate anchor for fresh biofilm to colonize.
- Poking nozzles with sewing needles or steel wire: Metal probes can gouge internal water channels, tear soft silicone nibs, and widen precision-drilled orifices unevenly. Always use flexible nylon bristles, wooden cocktail sticks, or soft brass wire intended for delicate instrumentation.
- Over-tightening threaded connections with wrenches: Modern shower heads often feature plastic internal threads beneath a thin chrome veneer. Applying heavy torque with a wrench can crack the fitting collar or pinch the rubber gasket out of seat, causing persistent leaks. Hand-tight plus a quarter-turn is sufficient.
- Ignoring the intake mesh filter: Cleaning the exterior nozzles while leaving a sand-choked inlet screen unwashed will not restore domestic water pressure. Always back-flush or rinse the mesh washer sitting inside the coupling nut.
- Leaving decorative finishes to soak indefinitely: While chrome handles prolonged acid exposure well, specialty finishes like matte black, polished copper, or living bronze can pit, peel, or turn iridescent if left submerged in acid solutions for excessive periods.
Practical next steps for your bathroom
Begin by testing your shower setup this evening. Turn on the hot water, step back, and observe the spray pattern. If water jets cross each other, shoot out at wild ninety-degree angles, or drip lazily down the front faceplate while the tap is on full force, scale and biofilm have taken hold of the internal passages.
Check your cleaning cupboard for a standard bottle of white household vinegar, a clean cotton cloth, an old toothbrush, and a roll of thread-sealing tape. If your fixture is a simple detachable hose model, dedicate an hour this weekend to unscrew the wand, drop it into a vessel of warm vinegar, and scrub the nozzle plate clean. If you encounter seized plumbing joints, corroded brass that refuses to budge under gentle hand pressure, or signs of water weeping inside the wall cavity, hold off on force and consult a licensed professional plumber to evaluate the internal piping before you risk breaking a fitting behind the tile.
This publication provides educational reporting only: consult a board-certified dermatologist or municipal health officer for persistent skin conditions. Disclaimer